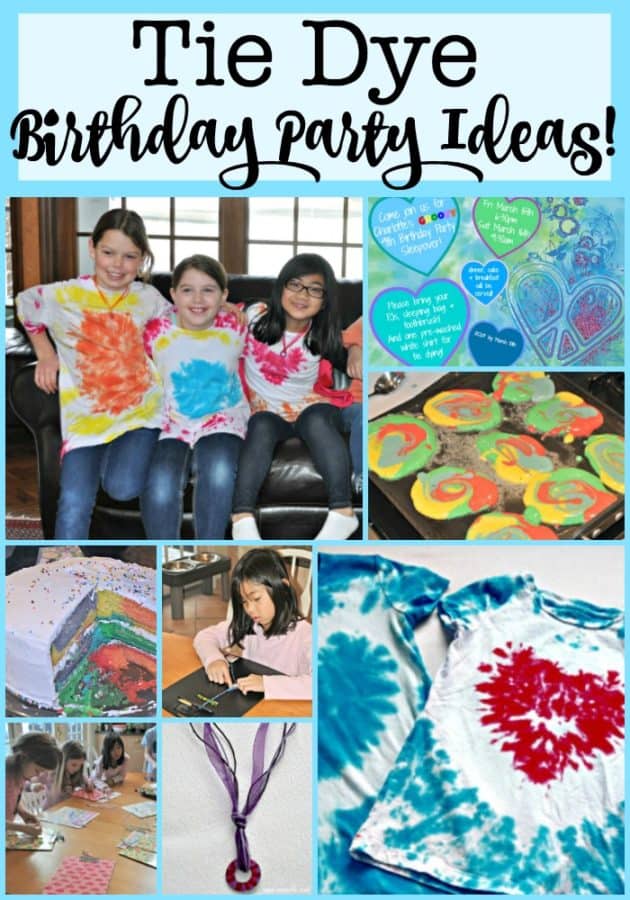
I love to throw kids birthday parties at home, and I always try to plan the crafts and activities around a theme. My daughter loves everything to do with jewelry and crafting, so I thought it would be fun to throw her a “groovy” tie dye party to celebrate her 9th birthday- and she loved it!
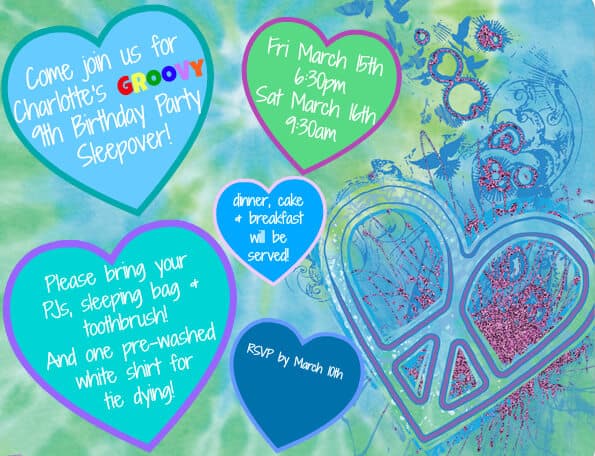
Tie Dye Party Invitation:
I love to create my own invites and thank you notes for my kids birthday parties using PicMonkey This is an affiliate link: MomOf6 earns a commission if you purchase, at no additional cost to you. .
I love that I can create a custom invite that is unique and either email or mail them to the party guests. And it's also a nice keepsake for her scrapbook!
(You can download a blank version of this invite for free- at the bottom of this post!)
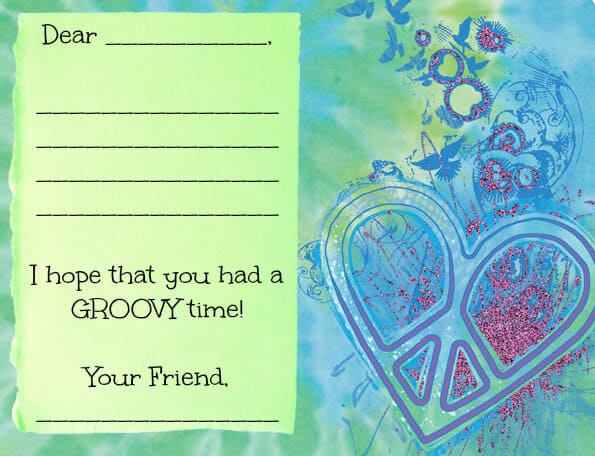
Tie-Dye Party Thank You Note:
And I like creating a structured thank you note so that she can easily write a nice note of appreciation. (You can download a copy of this thank you note for free- at the bottom of this post too!)
Tie Dye Party Activities:
I know that most people might think of a tie dye party as something you might do outside during the summer months- but honestly- it is super easy to do indoors as well! Here's what we did at our tie-dye party, and the timeline of events we used (which gives you an idea of how long each activity takes):
6:30 pm
The guests arrived and the birthday girl, along with her sibling helpers, stashed away their sleeping bags and backpacks for later. Gifts were placed on the dining room table (to be opened after the party).
We collected the white tee-shirts that everyone brought for tie-dying (I asked the guests to bring along their own so that I wouldn't have to guess at sizes) and placed the tees to soak in the bucket of soda-ash. (see the video below for tie-dye instructions).
6:45-7:15 pm
Dinner! For this party, we set up a pasta and salad bar. Guests chose the type of pasta they wanted (penne or linguine) and could top their pasta with sauce, meatballs and a side of garlic bread. They also could assemble their own salads.
7:15-7:45pm
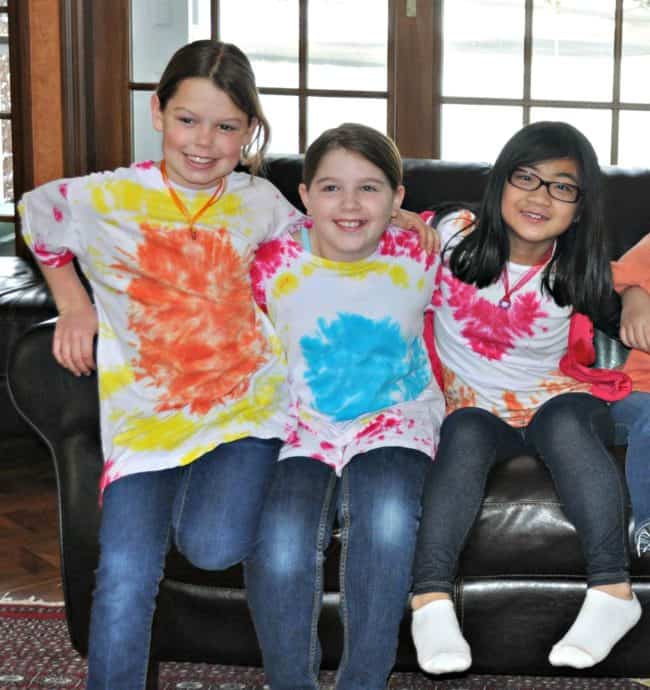
Time to tie-dye our shirts!
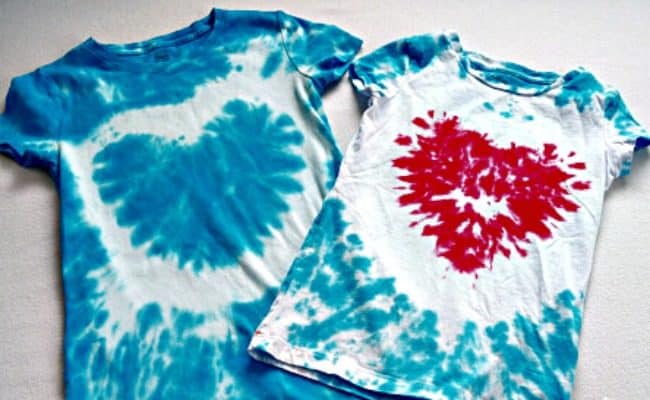
You can't have a groovy party, without tie-dying shirts, right? But we wanted ours to be a bit more unique than just your regular ole tie-dye shirt- we wanted ours to have hearts on them! Fortunately- we found this great tutorial to help us figure out how to execute this:
A couple of tie-dying tips for you:
❋ Buy one or two tie-dye kits This is an affiliate link: MomOf6 earns a commission if you purchase, at no additional cost to you. – you'll get everything you need- the soda ash (to pre-soak the tees, so the die takes), the rubber bands for tying the designs, and the colors and squirt bottles.
❋ Set out several plastic dish tubs This is an affiliate link: MomOf6 earns a commission if you purchase, at no additional cost to you. on the table for the kids to die their tees over. Ideally- have one tub per color of dye that you are using, and treat them as “stations”. So the kids will move their tees from color to color as they add the dye.
❋ Cover your table with a plastic table roll This is an affiliate link: MomOf6 earns a commission if you purchase, at no additional cost to you. to protect it from the dye.
❋ Make sure that you use 100% cotton t-shirts This is an affiliate link: MomOf6 earns a commission if you purchase, at no additional cost to you. . Have a few extra on hand just in case a guest forgets to bring one!
After dying, I put each tee into its own plastic grocery bag, so the colors wouldn't touch each other, and allowed them to sit overnight.
The next morning when I woke up, before starting breakfast, I rinsed the shirts until most of the dye was out, cut off or unwrapped the rubber bands and then washed and dried all of the tees in our washer and dryer.
They are now “set” and can be washed with a regular load of clothes!
7:45-8:00pm
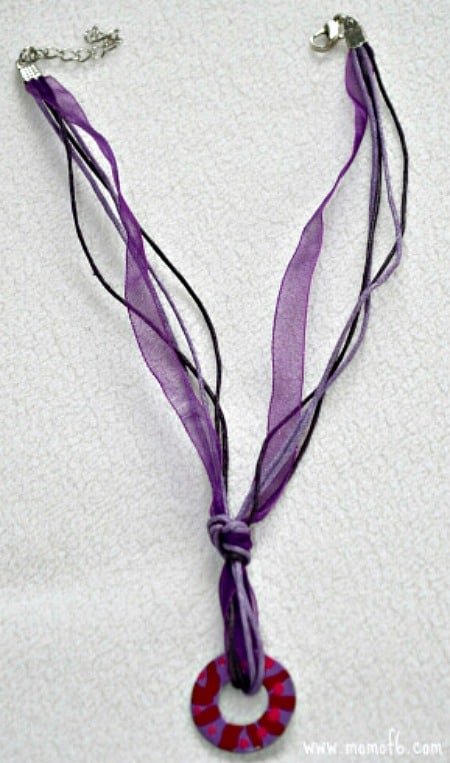
Start the washer necklace project!
I found this great idea online at Captain Crafty (link no longer available) for making pendants from
washers
This is an affiliate link: MomOf6 earns a commission if you purchase, at no additional cost to you.
and decorating them with
nail polish
This is an affiliate link: MomOf6 earns a commission if you purchase, at no additional cost to you.
, and then we hung the embellished pendants on
ribbon necklaces
This is an affiliate link: MomOf6 earns a commission if you purchase, at no additional cost to you.
.
To start the project, they painted their “base color” on their washer, and then allowed that to dry as we played games.
8:00-8:45 pm
Time for “Just Dance” on the Wii This is an affiliate link: MomOf6 earns a commission if you purchase, at no additional cost to you. – this game never gets old! The girls elected to take turns picking songs from Just Dance, and then one of the girls selected a Just Sweat cheerleader workout that had them all dancing and giggling and having a blast!
8:45-9:15 pm
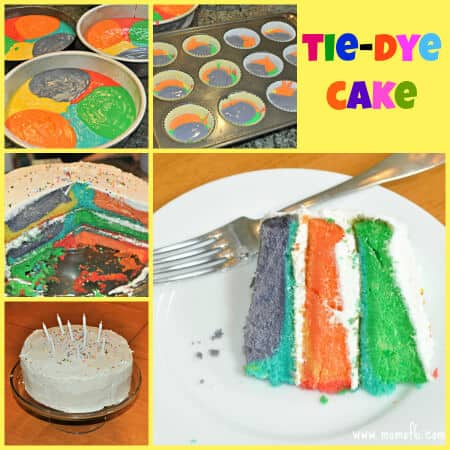
Enjoyed birthday cake and then finish painting our washer necklaces
9:15-9:30 pm
Changed into jammies and got the sleeping bags set up.
9:30- 11:00 pm
Time for a movie and popcorn! As an earlier birthday gift, we gave Charlotte two new movies so the girls could select one for the party.
11:00 pm
Lights out (let the giggling begin!)
They finally settled down to sleep about an hour later- and were still all sleeping at 7:30 am the next morning!
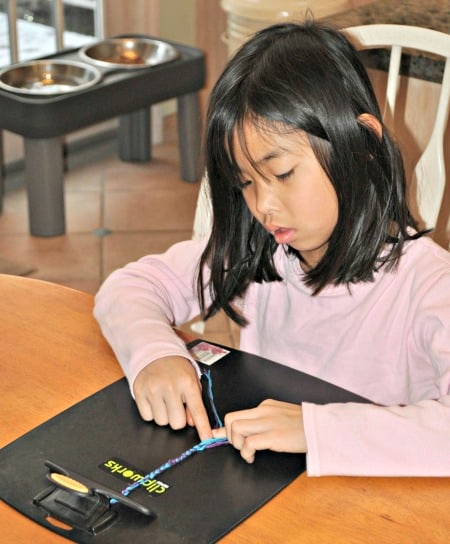
When the girls woke up, we started our friendship bracelet craft This is an affiliate link: MomOf6 earns a commission if you purchase, at no additional cost to you. , which they continued to work on while watching the second movie.
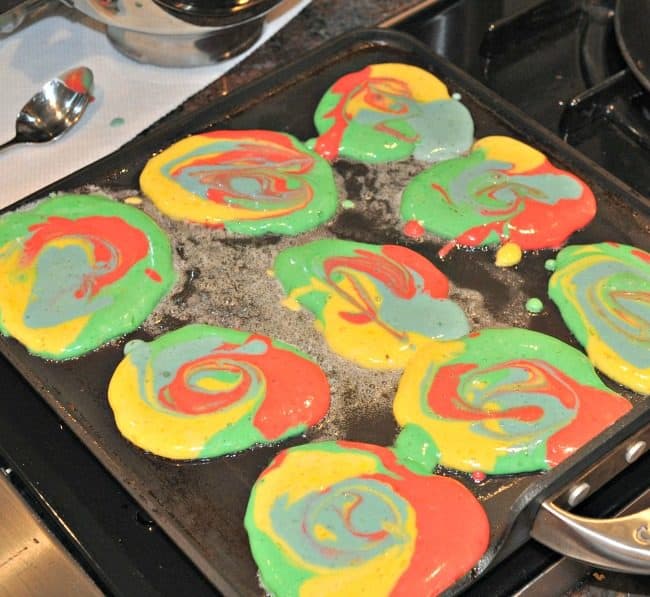
This gave Steve and I time to prepare platters of bacon and tie-dye pancakes!
Want to get the free Tie Dye Party Printables?
Simply sign up below to join the MomOf6 community and you'll be directed to a thank you page with access instructions!
*You can view our Privacy Policy here. To access the printable without subscribing to our newsletter, click here to send an email requesting access.
We all had such a fun time at this birthday party- and we bet that you will too!
Looking for some more awesome Tween Birthday Party Ideas?
Check these out!
- The Amazing Race Birthday Party
- Escape Room Birthday Party
- Spa Birthday Party
- Art Birthday Party
- Cupcake Wars Birthday Party
You can see all of our Kids Birthday Parties here:
How to Throw Your Own Kids Birthday Parties at Home!
Looking for Some More Great Party Games, Crafts, & Activities for Kids?
- 100 Truth or Dare Questions for Tweens (free printable party game!)
- “What's On Your Phone?” (free printable party game for tweens and teens!)
- 50 Would You Rather Questions for Tweens (free printable party game!)
- Photo Scavenger Hunt for Tweens (free printable party game!)
- 10 Great Birthday Party Games for Tweens (tons of ideas from around the web!)
or Shop for These Awesome Party Games!



Romy says
Hi, what an awesome party idea! I want to do it for my daughters party in a w weeks time. I reckon then will be 20-25 girls 🙈 how many tie dye kits do you reckon I should get?
Sharon Rowley says
2 kits should work- but buy 3 to be safe, and just don’t open it until you know for sure that you’ll need it!
Jeanette says
Hi,
We love your ideas and creativity!
The link to the tie dye tutorial seems to have disappeared, would you mind sharing it again please?
Thank you 🙂
karie says
Hi,
The invitations are adorable, I am in Picmonkey trying to create one similar. Did you create the Tie Dye effect or download that from a website?
Thanks
Karie
Sharon says
I downloaded it…. do a search for tie dye artwork!
Krista says
This is absolutely adorable and how completely ironic … my daughter CHARLOTTE is turning 9 and we cam across this party idea browsing through Pinterest! Needless to say …we HAVE to do it!
I did right click and save to my computer, but it will not allow me to edit the document? Is there a way to do this? I’m sorry to bother you … but it is so cute!
Any suggestions you can offer would be great!
Thanks,
Krista
Sharon says
Hi Krista!
No the document is not editable unless you open it up and make changes in PicMonkey. I wrote a post that explains how to create birthday party invites in Picmonkey that should help you: https://www.momof6.com/at-home-birthday-parties/how-to-create-birthday-party-invitations-using-picmonkey-tutorial/.
I hope that you have a great party!
Paula says
Is it possible to get the original image for the invitation so I can modify it…it is so cute!
Thanks!
Sharon says
You can download the image right from this post. Just right click to open it and then save it to your computer!
Paula says
I tried, but when I go to print, it is blurry b/c the resolution is for the web.
Thanks.
eva hendry says
What cakes should you have
Sharon says
It’s right there in the post… we did tie dye cakes and cupcakes.
Chriss says
I’m doing a tie dye party for my daughter but I have NO idea how to use PicMonkey!
Can you send me a link to this invite?
Ami says
I love this! I am a mom of 5 so I appreciate the insight!
Kiersta says
Just had a tye dye sleepover for my 8 year old!! It was a blast . Thanks for your helpful hints!
Ann-Marie says
I LOVE the tye dyed cake and pancakes. I am assuming you just used food coloring to get the different colors. Is there anything else to it?? Thanks for sharing.
Sharon says
The real trick is adding some yogurt to your cake mix. The acid in the yogurt is what allows the colors to become more vibrant!
sydney says
im about to turn 9 yrs old and I want the best party ever what are the best ideas you have sharen