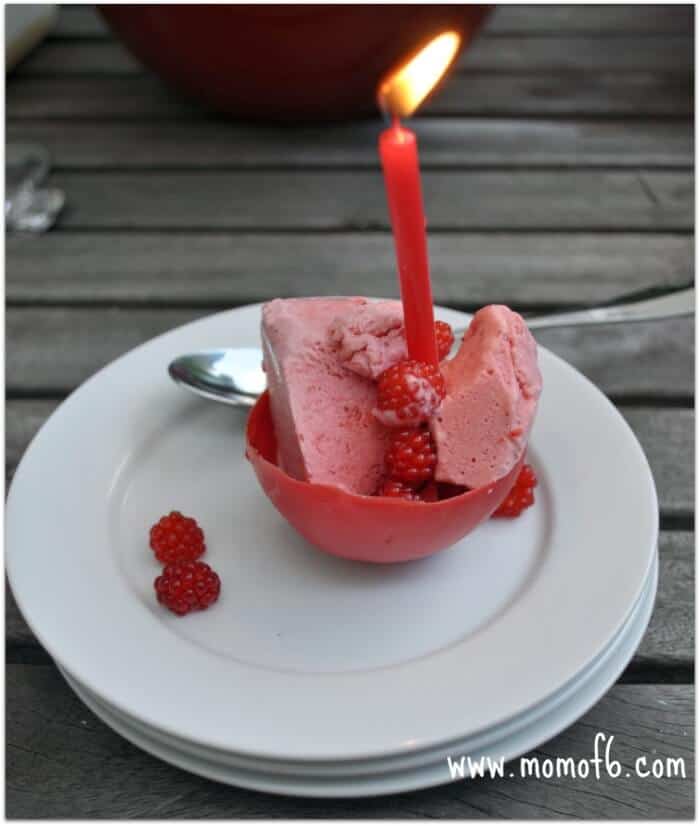
We eat more than our fair share of ice cream here at our DIY Summer Camp that we call “Camp Rowley.” So I thought it would be fun to try a new way to serve the ice cream, and the kids and I made these yummy chocolate ice cream cups. A great craft project and something delicious for dessert all rolled into one!
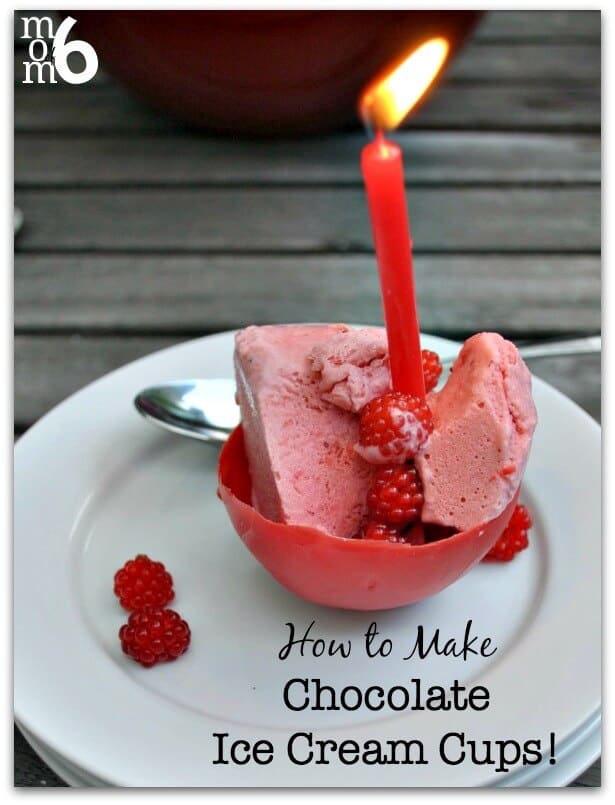
How to Make Chocolate Ice Cream Cups:
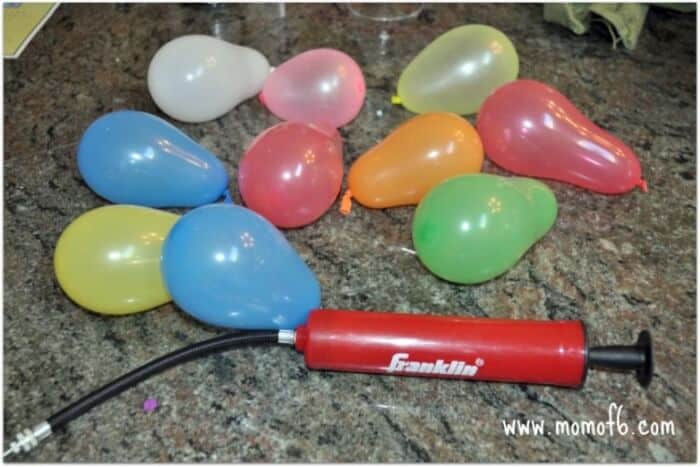
To begin, inflate 10-12 water balloons This is an affiliate link: MomOf6 earns a commission if you purchase, at no additional cost to you. . These darn things are so tiny that it is almost impossible to inflate them with your mouth, so I used a soccer ball pump This is an affiliate link: MomOf6 earns a commission if you purchase, at no additional cost to you. and just held the neck of the balloon tightly around the pump.
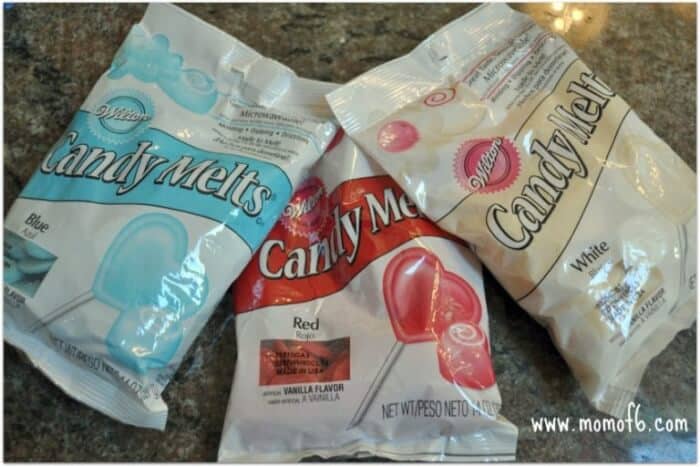
Next, I prepared the chocolate. (I prefer to use Wilton's candy melts This is an affiliate link: MomOf6 earns a commission if you purchase, at no additional cost to you. .) I poured about half the bag of candy melts into a microwave safe bowl and then heated them in the microwave for 1 minute on high.
At this point they will not look melted, but do not heat again! Instead, take the bowl out and stir, stir, stir- and in about 1 minute you will have a bowl full of melted chocolate.
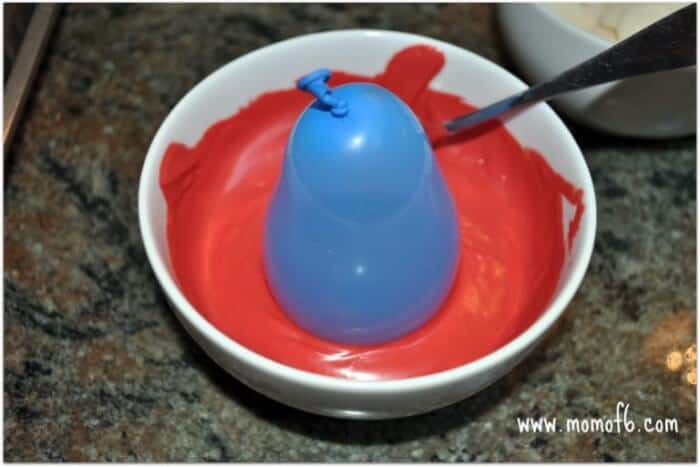
Take one of the water balloons and lightly spray the end with some cooking spray (and if you find that you have too much spray pooled at the end of the balloon, then wipe some off with a paper towel).
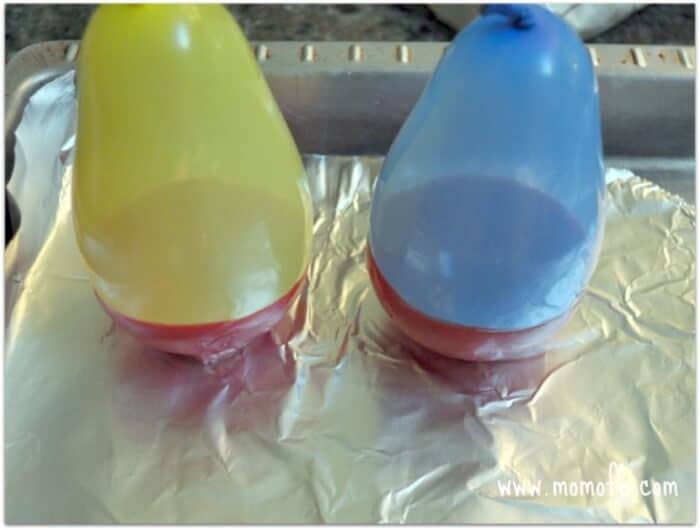
Dip the end of the balloon into the melted chocolate and turn it a bit to make sure that you have a nice coating all around. You especially want to make sure that you have a good base on the bottom of the balloon.
For a unique look, you can also try dipping a balloon into a second color of chocolate, drizzling a second color of chocolate over a balloon after it has been dipped, or swirling two colors together in a bowl before dipping.
Place the dipped balloon onto a cookie sheet that has been lined with non-stick foil or parchment paper.
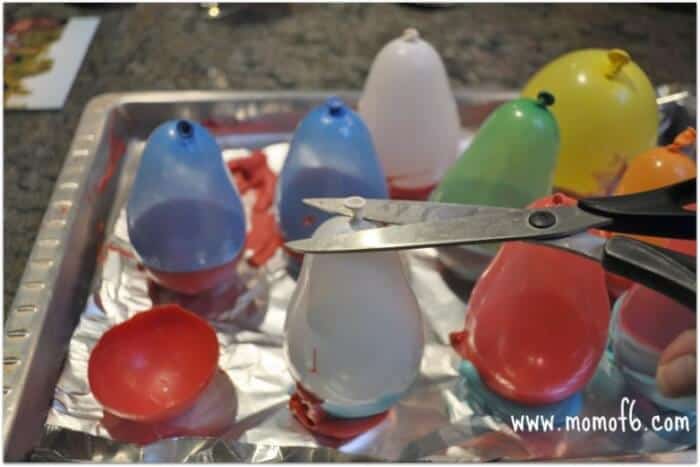
Allow them to sit in a cool dry spot for about an hour to harden. Then very carefully snip the teeniest, tiniest of holes into the top of the balloon to allow the air to escape slowly.
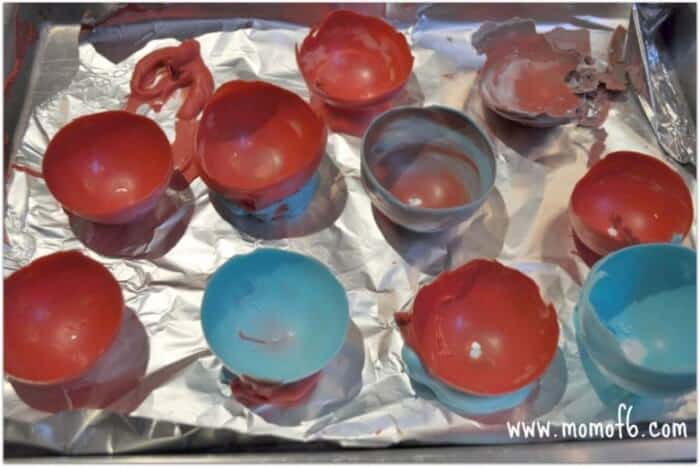
And voila- you'll have a tray full of these adorable ice cream cups! Don't be overly concerned if you have a tiny hole in the bottom of your cup- you'll need to serve these on top of plates anyway. The cups are thin and will melt pretty quickly if held by warm hands.
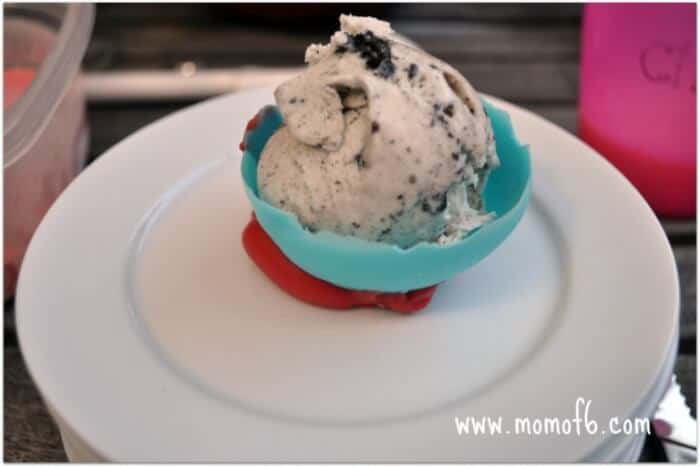
Serve with a scoop or two of your favorite ice cream!
Right after we go strawberry picking, we love to make this recipe for Dreamy Creamy Strawberry Ice Cream from Everyday Annie! I think it is the most delicious batch of ice cream ever!
Looking for More Recipes that Kids Will Actually Eat?
Then check out my Recipes page for breakfasts, dinners, desserts, and more that have been Rowley family approved!
Please check out my DIY Summer Camp page for lots of ideas on how to host your own kids summer camp at home!
Here are some more great summer ideas for you:
- Free Family Summer Bucket List Printable
- 50 Fun Summer Activities, Crafts, and Field Trips (From Pre-K to Teens!)
- 10 Summer Hobbies for Kids (That They Can Learn Themselves!)

BJ Mama says
HAPPY BIRTHDAY!! And thanks for sharing this!!!!! I’m pinning it too because I GOTTA do this! 🙂
MsMommee says
Yay, YOU! Happy Birthday!
What a great treat idea, and a great way to celebrate with the kids, too. My daughter is celebrating her ‘half’ birthday today and this will make an awesome summer birthday treat to do with her brothers. Thanks so much for the wonderful ideas. “Camp Mommee” wouldn’t be the same without your tips, ideas, and incredible pictures (i have to email you about that b/c ur photos are fantastic). Enjoy your special day – we sure will, too! 🙂