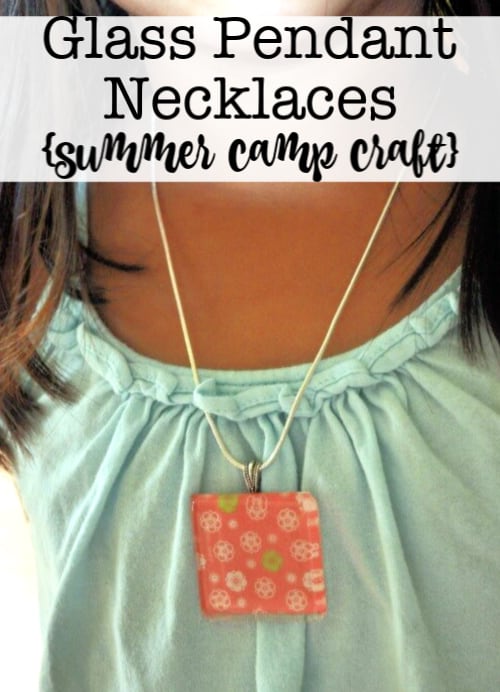
I found this cute idea for making glass pendant necklaces over at Simply Modern Mom (no longer available) and I knew this would be a fun craft for our DIY summer camp at home! I planned to use the glass tiles to create necklaces for the girls and keychains for the boys.
Making the Glass Pendant Necklaces
Supplies Needed:
- 1″ glass tiles This is an affiliate link: MomOf6 earns a commission if you purchase, at no additional cost to you.
- scrapbook This is an affiliate link: MomOf6 earns a commission if you purchase, at no additional cost to you. or origami paper This is an affiliate link: MomOf6 earns a commission if you purchase, at no additional cost to you.
- paper trimmer This is an affiliate link: MomOf6 earns a commission if you purchase, at no additional cost to you.
- Diamond Glaze This is an affiliate link: MomOf6 earns a commission if you purchase, at no additional cost to you.
- E6000 craft glue This is an affiliate link: MomOf6 earns a commission if you purchase, at no additional cost to you.
- bails This is an affiliate link: MomOf6 earns a commission if you purchase, at no additional cost to you.
- ribbon necklaces This is an affiliate link: MomOf6 earns a commission if you purchase, at no additional cost to you. or necklace chains This is an affiliate link: MomOf6 earns a commission if you purchase, at no additional cost to you.
- keyrings This is an affiliate link: MomOf6 earns a commission if you purchase, at no additional cost to you.
Step 1: Creating the Design
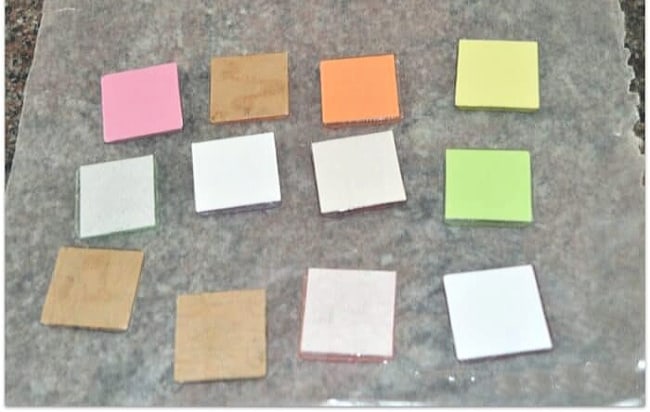
As suggested in Simply Modern Mom's tutorial, I first cleaned the glass tiles with a damp cloth and then laid them out (upside down) on a piece of wax paper.
Next, the kids and I selected the scrapbook or origami paper we wished to use, and using my scrapbook paper trimmer, we cut out our perfect little 1-inch squares.
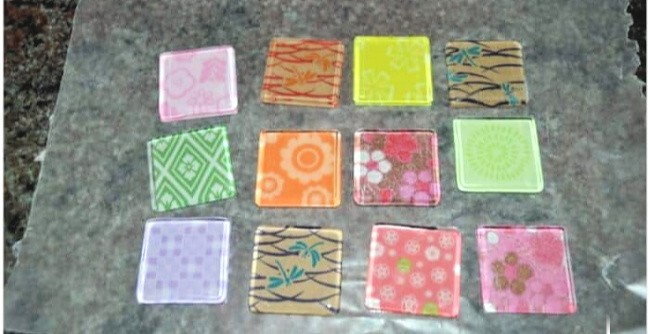
Using Diamond Glaze, we glued our papers face down to the back of the tiles (so our image would show through the glass).
And after an hour, we added another coat of Diamond Glaze to the back of the paper to seal it nicely.
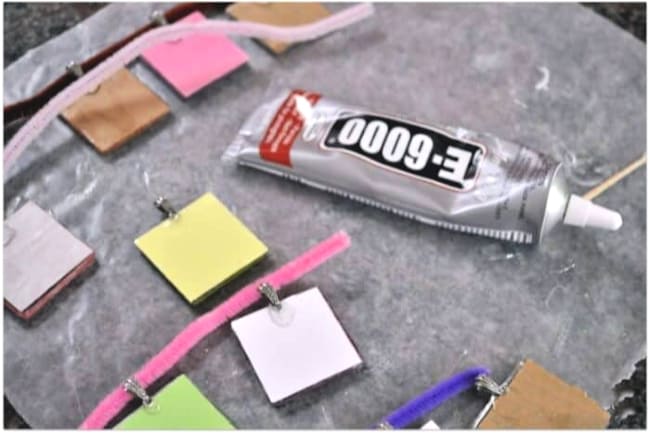
Now came the hard part (well, for me anyway!) attaching the bails. (Bails are the small loop thing that goes at the top of the pendant allowing you to attach the pendant to a chain.)
The tutorial sure made it sounds as if all I needed was a nice small dab of E6000 (a crafting super glue) and then just press the bail into place and the whole thing would bond together nicely. Perhaps the bails I purchased were simply too heavy- but my bails just kept sliding off the top of the glass tile.
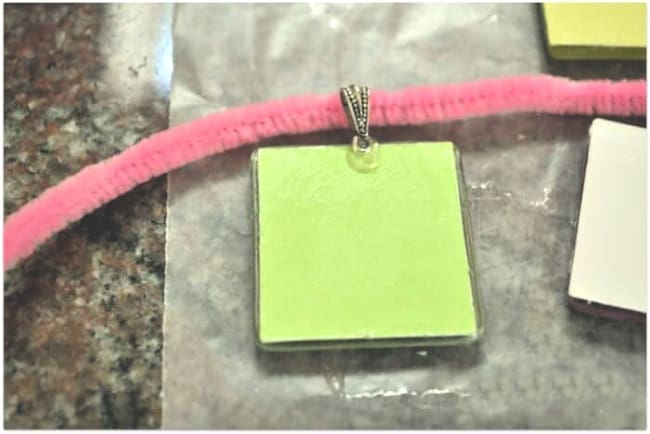
So I used a large “glob” of E6000 and held the bail in place by propping it up on a chenille stem while it dried- which took about 24 hours.
Once everything was nice and dry, we simply added the chain or keyring!
So cute and very easy!
Here are some more great summer ideas for you:
Please check out my DIY Summer Camp page for lots of ideas on how to host your own kids summer camp at home!
- Free Family Summer Bucket List Printable
- Free Printable Summer Schedule
- 50 Fun Summer Activities, Crafts, and Field Trips (From Pre-K to Teens!)
- How to Build a Backyard Zipline!
- Make Your Own Lava Lamp
How about you? Do you think you'll take your kids to a minor league baseball game?

Carol B. says
Since I subscribed, I am enjoying your family projects and admire your energy and enthusiasm. My granddaughters stay with me often, especially in the summer, and I am always looking for things to do and projects for us. Now that they are preteens, It was getting harder for me to find activities that they were excited about doing. The scavenger hunt was fun and we’ll be making the glass tile necklace this week. Thanks so much!
Sharon Rowley says
I LOVE reading this! Thanks so much!
rita bhandari says
wow!!! lovely and cute idea
Christine@TheAums says
Chenille stems, huh? Learn something new everyday! I want brainstorm making these as gifts with the kids…I’m sure the grandmas and aunties would love!