If you are running a DIY summer camp at home- it's only fitting to create your own camp t-shirts, right? I found a great Avery product that makes it SO easy to do! Here's how to make your own summer camp t-shirts!
This is a project that I have wanted to do for a long time- but earlier attempts didn't turn out so well!
And what it came down to- is that it is all about finding the right fabric transfer product!
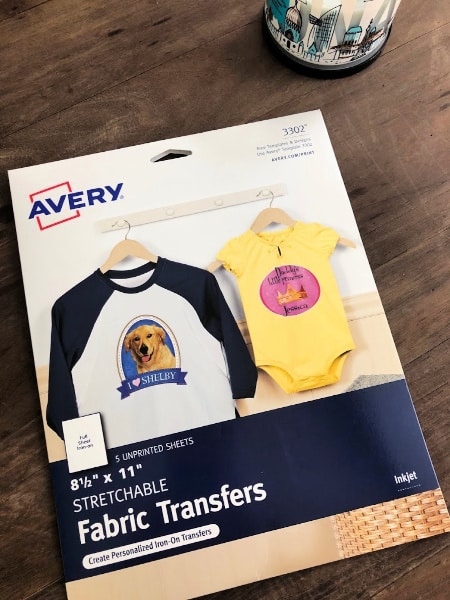
And this Avery Stretchable Fabric Transfer paper This is an affiliate link: MomOf6 earns a commission if you purchase, at no additional cost to you. is it!
Now- a couple of things to note before you start this project:
- You'll need to print your design on an inkjet printer for this to work (not a laser printer)
- You'll need to use image software that allows you to flip the image (I use PicMonkey This is an affiliate link: MomOf6 earns a commission if you purchase, at no additional cost to you. – and I'll walk you through the steps below!)
- Your t-shirt does not need to be 100% cotton with this product- so you can add your image to a poly-cotton stretchy tee and it will still work!
How to Make Your Own Summer Camp T-Shirts!
Create Your Image
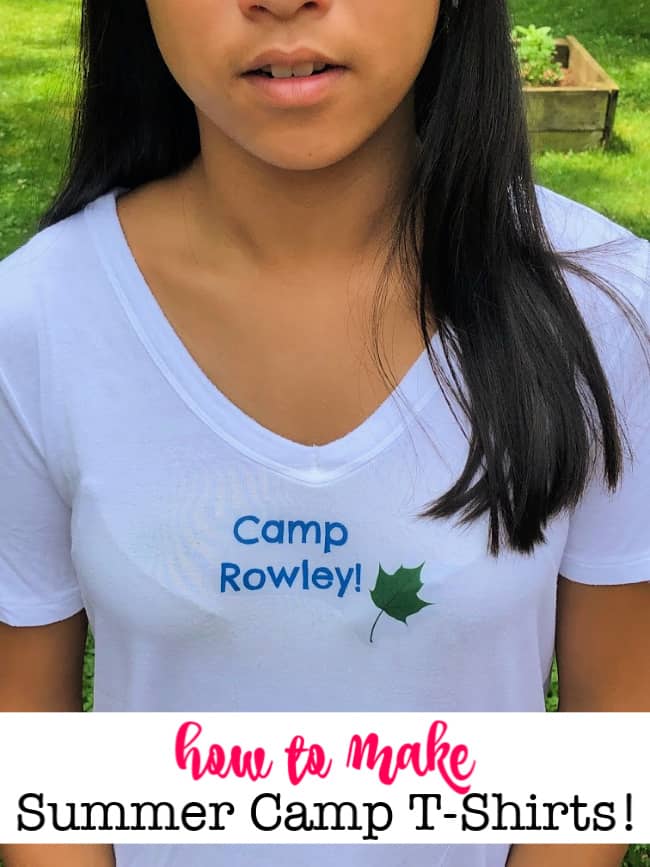
The first thing you'll need to do- is to design your summer camp t-shirt logo! I wanted something simple- just naming our “family camp” and a cute little leaf icon.
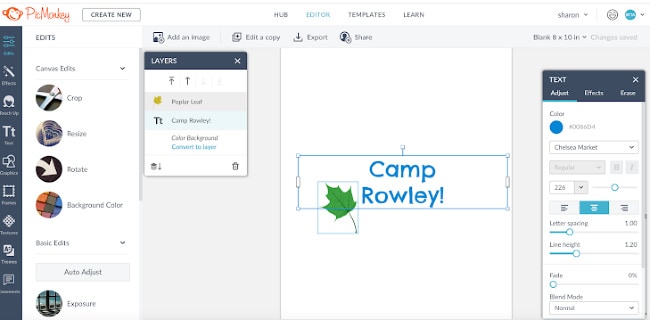
I simply created a new project in PicMonkey This is an affiliate link: MomOf6 earns a commission if you purchase, at no additional cost to you. – selected the font and color I wanted to use, and added my Text.
Then I clicked on the Graphics icon on the left side, and in the search bar typed “leaf”. I was given an assortment of leaves to choose from, and then I was able to change the colors on the graphic to get the look I wanted.
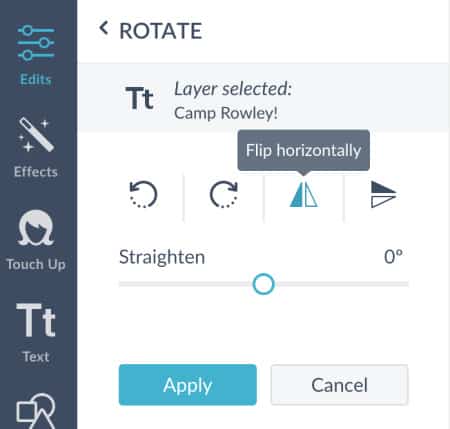
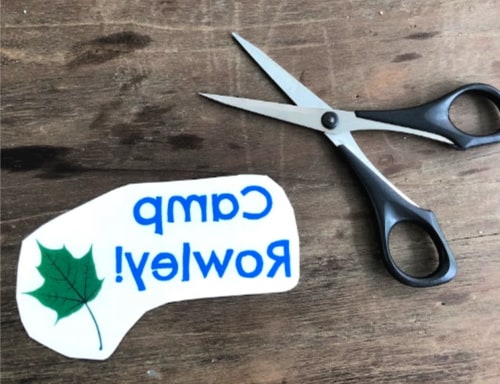
The next step is to rotate the image so that you get the mirror effect- which is one you'll need to print on the iron-on transfer. Under the Edits icon on the left side, I selected Rotate, and then I clicked the 3rd icon in to flip my text horizontally.
Then print your image onto the stretchable fabric transfer paper- using an inkjet printer, and cut it out so there's not a lot of paper outside of your image.
Iron on the Image
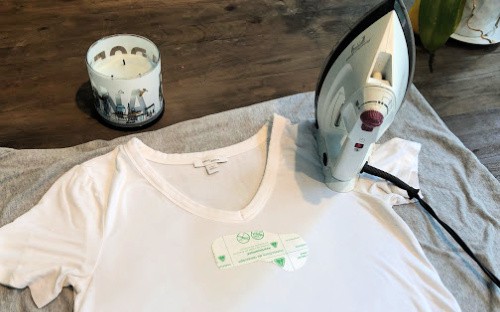
You don't want to iron this on an ironing board- because it is designed to absorb the heat of the iron. A better option is to iron it on a wood table, first laying down a pillowcase (make sure that are no wrinkles), and then placing your tee on top of the pillowcase (again making sure that there are no wrinkles in the area you are going to add the image to).
You want to make sure that there is no water in your iron before you use it for this project- because you don't want to use steam for this.
Preheat your iron on its cotton setting for 5 minutes.
Then iron on your image! For an image the size I created, I ironed (moving it back and forth) for about one minute.
I then allowed the transfer to cool for 2-3 minutes until it was just slightly warm to the touch before peeling off the transfer paper.
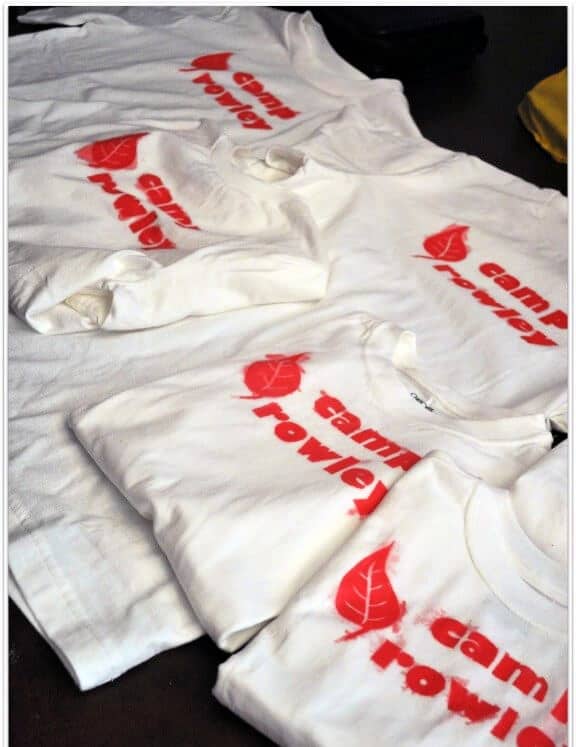
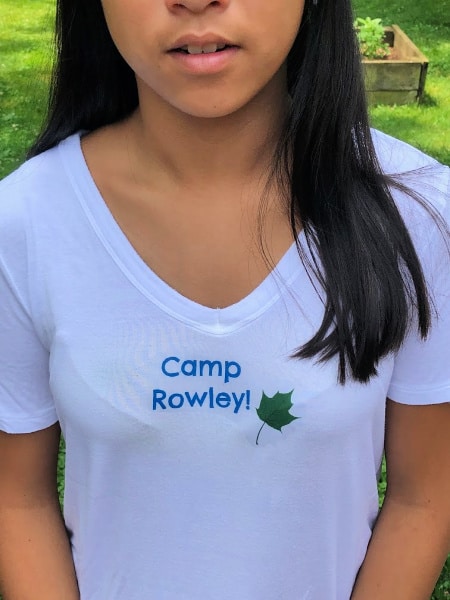
It worked perfectly the first time! And now we have these sweet summer camp tees!
Please check out my DIY Summer Camp page for lots of ideas on how to host your own kids summer camp at home!
Here are some more great summer ideas for you:
- Free Family Summer Bucket List Printable
- Free Printable Summer Schedule
- 50 Fun Summer Activities, Crafts, and Field Trips (From Pre-K to Teens!)
- DIY Roller Coaster Ride
- Teach Your Kids How to Play Crazy 8's!
Are you going to create your own summer camp t-shirts?

Bottom Crawlers says
Cool! Thinking about doing this one, too. Great!