I think that PicMonkey is a fantastic tool that you can use for digital scrapbooking. I love to create scrapbooks for each of my kids on an annual basis to celebrate all that they have accomplished and all that we have enjoyed together as a family! In this post, I am going to show you how to create digital scrapbooking layouts using PicMonkey, by matting some of our photos and pulling them together on digital scrapbook paper using the Overlay function.
*Please note that some of the links in this post are affiliate links, which means I will make a small commission if you purchase through these links.
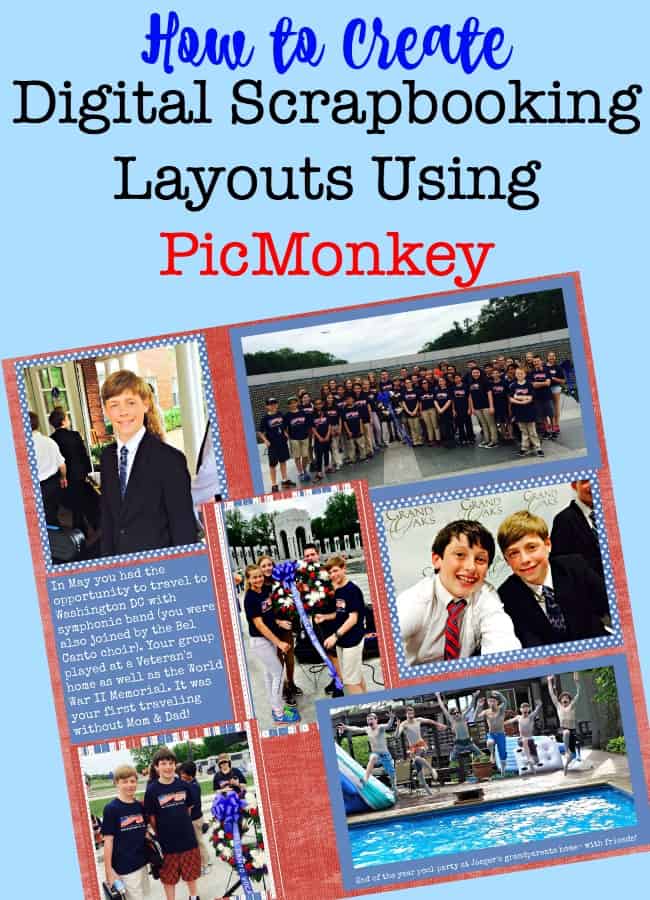
How to Create Digital Scrapbooking Layouts Using PicMonkey
Select the Correct Scrapbook Page Size
Start by opening PicMonkey, and then open the scrapbook paper image that you intend to use for the background of your 12 x 12 page. If you aren't sure where to find scrapbook paper images- check out my post: Where to Find Free Digital Scrapbook Paper.
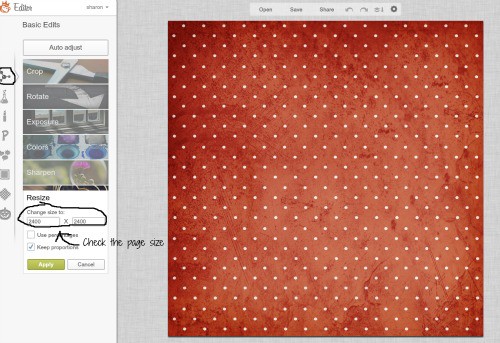
Click on the resize button and check out the size of the image that you are working with. Ideally, a 12 x 12 scrapbook page should be 3600 x 3600 pixels, but you can go as low as 2400 x 2400 and still be able to get a high-quality print of the page when you are finished.
Open Another Window of PicMonkey to “Mat” Images
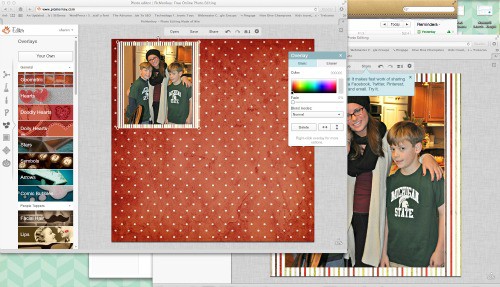
I find it easiest to create digital scrapbook pages when I use one window of PicMonkey to build the page layout, and another window of PicMonkey to mat the images that I am going to place on the page. So open a second window of PicMonkey and open a scrapbook paper image that you'd like to use to frame one or two of the images for your layout.
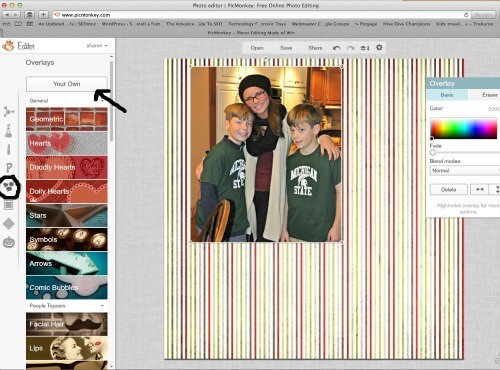
Click on the Overlay button in the left-hand column (5th icon from the top that looks like a butterfly) and then click Your Own and select the image you want to frame. You can click on any corner of the image and “pull it” to make it larger or smaller. You can also put your cursor over the image and move it around on the background paper.
Click on Basic Edits icon on the left side of the screen (1st icon) and click the Crop button. A large box will present itself over the image, which you can move and re-size to define how you want to crop your new image, inclusive of the new frame. When you like the way that it looks, Click Apply.
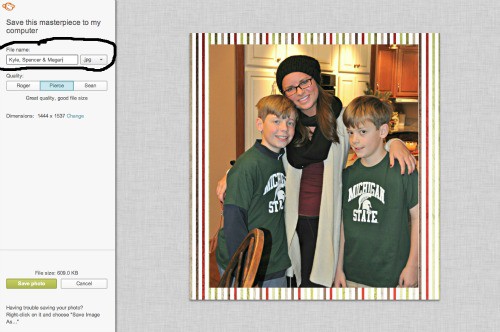
You'll need to rename your image (it will default to the original name of the background paper you used). Save your image as a .jpg file.
Go Back to Your Page Layout PicMonkey Window And Bring In Your Images as Overlays
Back in your original PicMonkey window, where you opened the background paper image you plan to use for your page layout, click on Overlay, click Your Own, and open the matted image that you just saved in your other PicMonkey window. You can resize it and move it by dragging and dropping.
Continue Matting Images and Bringing Them Onto Your Layout
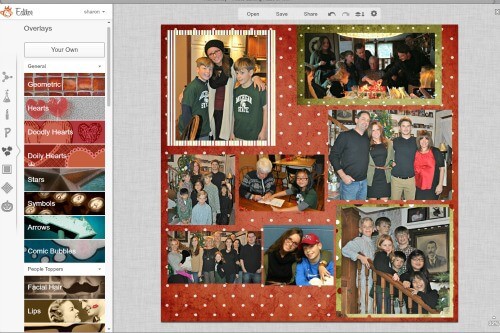
Repeat the steps above with the other photos you intend to include on your scrapbook page. But keep in mind that not all photos need to be matted. Sometimes your page will look better if only some images are matted, and other smaller images are grouped together unframed.
Add Embellishments
Many websites that offer free digital scrapbooking paper also include matching embellishments in their free download of the scrapbook paper. These are wonderful because they match the papers you are using.
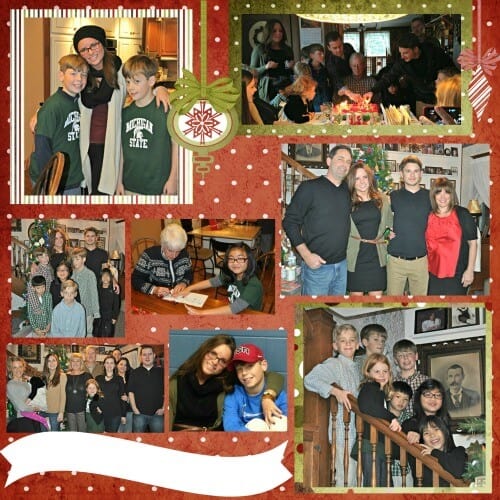
To add these embellishments to your page, click on the Overlays icon, click Your Own, and open up the embellishment you want to add. You can move it and resize it as needed. (on the page above, I added the two cute ornaments to my page).
Create Space to Add Text
On this particular page, all I plan to add is a page title “Christmas in Michigan”, but on other pages I will want to create a much larger text area to “tell my story” and write about what took place that day, why it was special, all of the details that will be forgotten in just a few years (or even months) time.
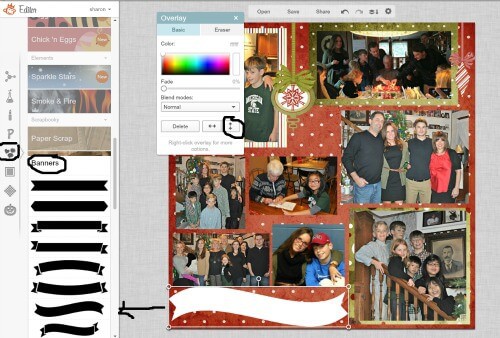
Since I am only adding a page title, I wanted to use a ribbon background, and I will add the text later. You can add all kinds of PicMonkey overlays that are available in the left-hand column.
I clicked on Overlays, then scrolled down and clicked on Ribbons, and selected one of the ribbon options on the menu. Using the pop-up Overlay box, I changed the color of my ribbon to white, and I flipped it upside down because I liked the way the curve looked better this way. Then I re-sized the ribbon to fill the space I intend to use for the title.
You're Done with Creating Your Page Layout!
Your page is now assembled, and you are ready to add your title and text. But let's say you'd like to modify this page a little and make it different for each of your kids- this is super easy to do! I suggest Saving this page layout to the Hub (click the Save button and then give it a name and save it to your Hub.
Anything you save in the Hub can be opened and modified later within PicMonkey. So I will use this page layout to create personalized versions for each of my children- something changes images used in the layout and often changing the text, and then either save that revised page layout to the Hub- or if it is complete- I will save the final page as a .jpg file onto my laptop which I can use later to create an online scrapbook or even a printed copy.
The Digital Scrapbooking Series
Here are all of the links to my 6-part series which will teach you How to Create Digital Scrapbooks for (Nearly) Free!
- Why you should use PicMonkey for digital scrapbooking
- How to edit images using PicMonkey
- Where to find free digital scrapbook paper
- How to create digital scrapbooking layouts in PicMonkey
- How to add text to your digital scrapbooking layouts
- How to print a paper copy of your digital scrapbook



Kristen says
Thank you for this awesome tutorial! I’ve been looking and looking for guidance on how to do digital scrapbook pages in picmonkey but until I found your site, I just couldn’t seem to find the right guidance. Now I have to figure out how to size my pages to 11×9 (I keep trying to find the right pixel ratio) because that’s the size photo book I typically buy (I make digital scrapbook pages and then load them into a Shutterfly photo book.) All my digital scrapbook papers are 12×12 but I’m sure I can figure out how to re-size even if just trial and error. Thank you again!!