*I would like to thank Westcott for sponsoring this post. All opinions and ideas expressed within are my own.
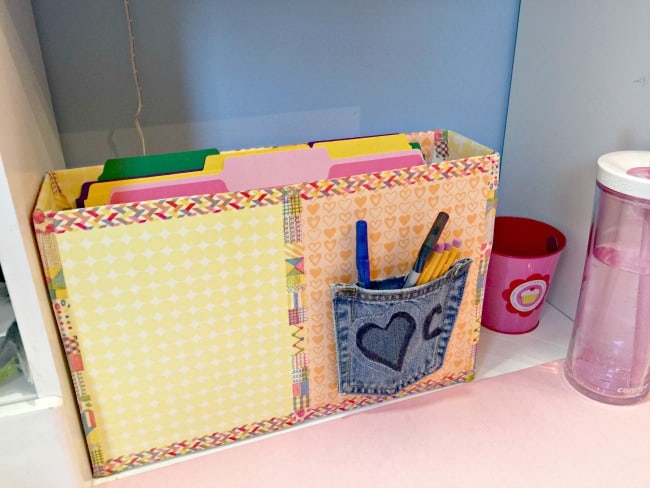
Once kids get into middle school and then into high school they will need to save study packets, notes, and assignments throughout the school year in order to prep for end of year exams. But without a system in place to keep that paperwork organized and accessible- it just becomes a mess of papers on their desk or floor of their room- and makes it nearly impossible for them to actually use when needed! So this season, my kids and I created an awesome DIY filing box for each of their desks while we were getting them ready to head back to school!
This was actually a fairly easy project that my kids could execute on their own (once we created the first box together) and it took us less than an hour to make!
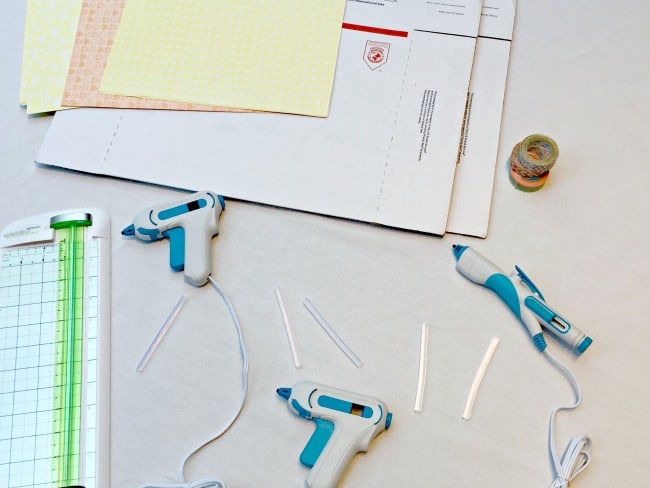
What You'll Need to Create Your Own DIY Filing Box
For each filing box, you'll need a USPS medium-sized flat rate box (and of course I highly encourage you to recycle one that you've received in the mail vs. going to the post office to use their free boxes!), some 12×12 scrapbook paper and colorful washi tape, a paper cutter (I'm in love with this Westcott trimmer that both cuts paper as well as scores lines in paper- perfect for a folding project like this one!), scissors, and a glue gun (I used this Westcott low temp mini glue gun for this project!).
Assembling and Decorating Your DIY Filing Box:
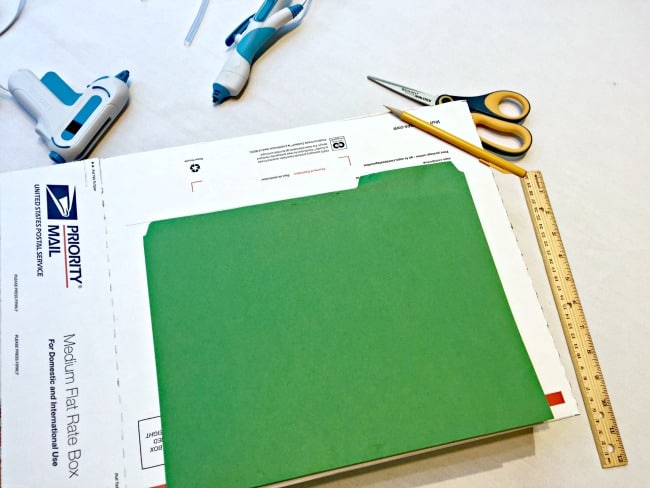
We started by marking the box at the height of the file folder we plan to use, so that the tab can peek out of the top of the filing box when we are done. Then we cut the box on all 4 sides at this height with our scissors.
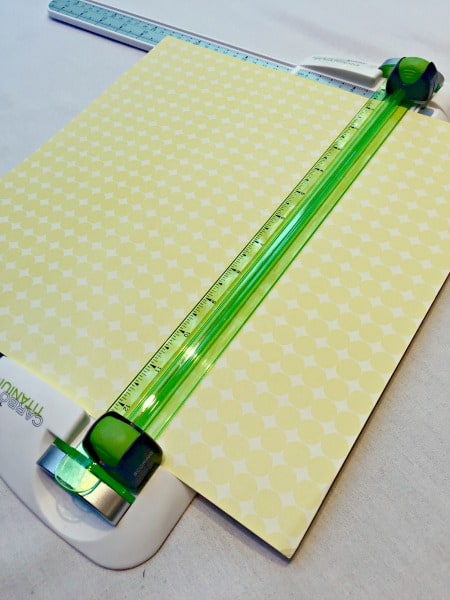
Next we used the paper trimmer to cut our scrapbook paper to the right length (in our case it was 7″), and then used the scoring blade to score the paper where we will fold it over the top of the box.
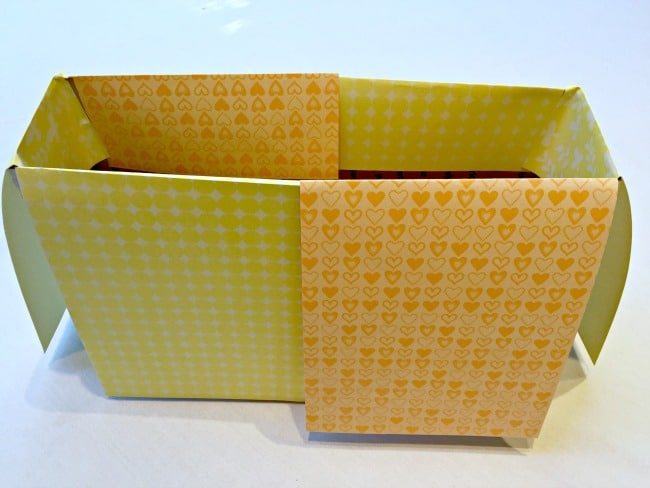
We were going for a “patchwork effect” of different scrapbook paper and patterns- so we used two different sheets for each side plus a third sheet to cover the ends of our filing box.
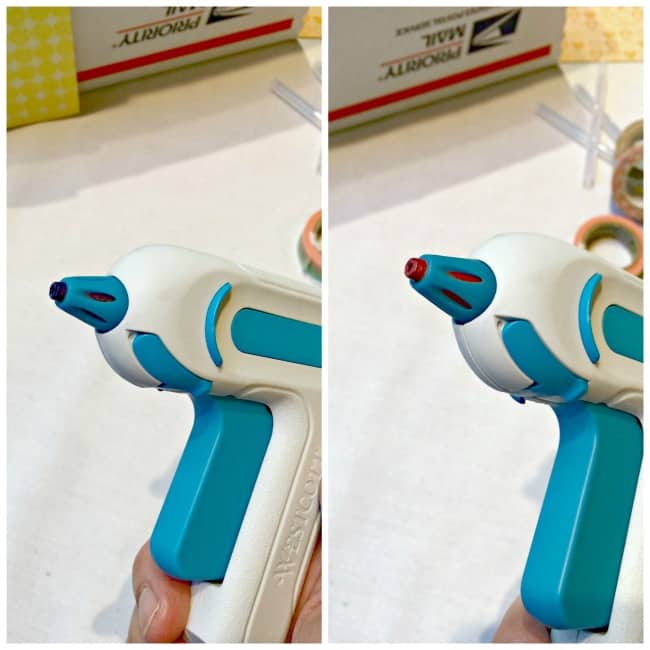
Now it was time to glue down our paper! The great thing about using the Westcott low temp glue gun is that the tip changes color from blue to red when it is hot and ready to use so I didn't have to worry about the kids burning themselves by touching the end of the pen to see if it was ready! And the extra large trigger makes it easy to control while using.
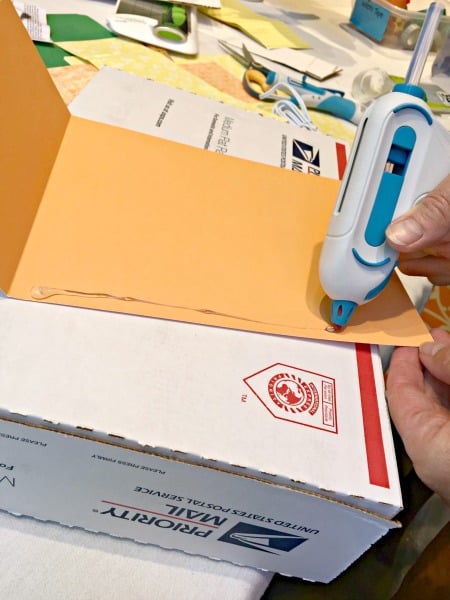
First we glued down the sides of the boxes (we found it worked better to use the glue gun on the paper and then affix the paper to the box).
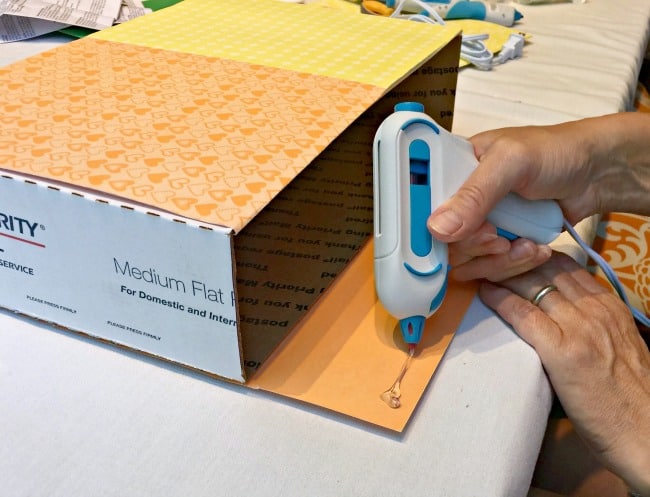
Then we glued down the fold-over part of the paper so it adhered to the inside of the box- giving us a crisp folded edge at the top of our DIY filing box.
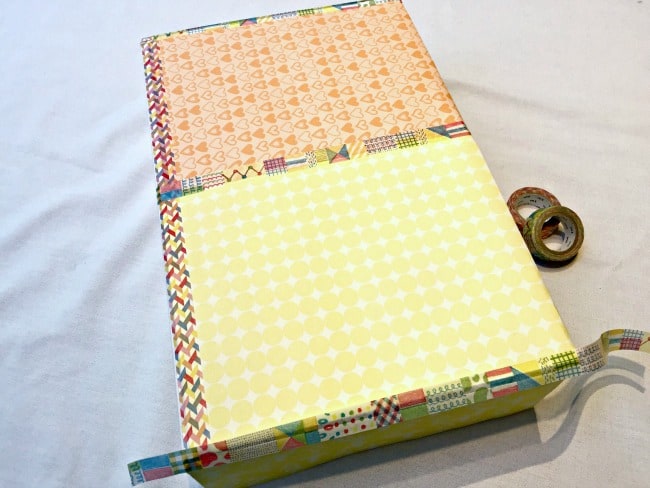
Next we added colorful washi tape to the seams of the paper and the edges of the box which gave it a great finished look and will help it to last the entire school year!
So cute, right? You can find some more great DIY inspiration over at Westcott Creativators!
*I would like to thank Westcott for sponsoring this post. All opinions and ideas expressed within are my own.
Do you think your kids would love to make their own DIY filing box?


Ariel Pinales says
I have learned result-oriented things from your blog post. One other thing I have found is that in most cases, FSBO sellers can reject anyone. Remember, they might prefer not to ever use your services. But if a person maintain a comfortable, professional connection, offering assistance and staying in contact for four to five weeks, you will usually have the capacity to win a conversation. From there, a listing follows. Thanks
Ushmana Palmo Rai says
These are very cute and simple yet very useful! Thank you for sharing such an innovative post! xx