I have been using this magnetic menu planning board for years now. I love how it makes the actual menu planning process so simple- all I have to do to pick and choose family dinners from my list and just move them into a daily spot. If you'd like to get organized this year – here's how to create your own “What's for Dinner?” menu planning board!
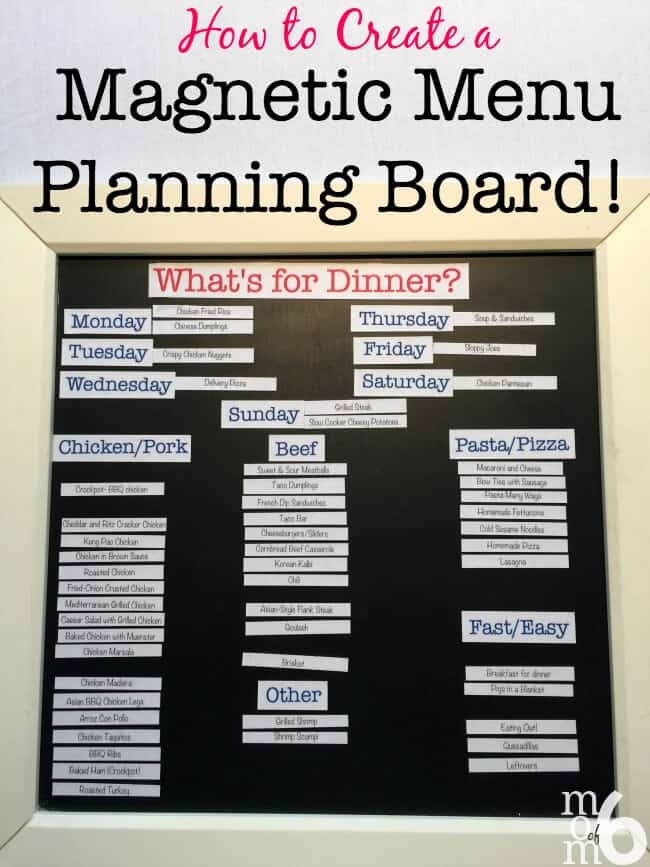
One of the best parts about using this board is that I don't have to rack my brain to think of things that my kids will actually eat- it's all there for me to choose from. Even the kids can take on this task themselves and tell me what they would like for me to cook this week.
And the section for dinners that are “Fast & Easy” really helps me when I am facing down an evening where the kids have a late sports practice, a Science Fair, or if I have book club that evening.
What You'll Need for the Magnetic Menu Planning Board:
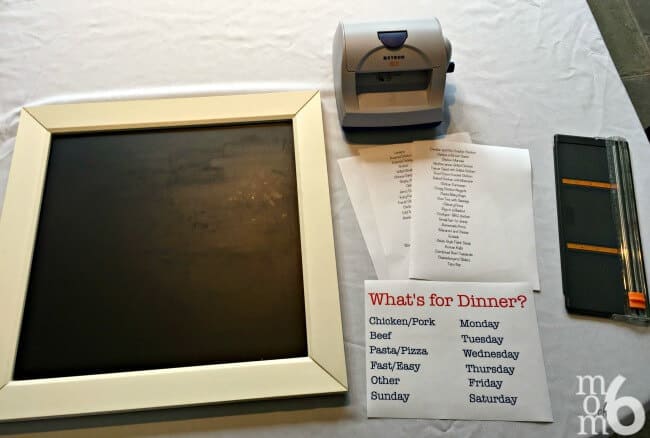
The first thing is the board itself! I purchased mine a long time ago from the Pottery Barn catalog, but you can find similar ones here This is an affiliate link: MomOf6 earns a commission if you purchase, at no additional cost to you. and here This is an affiliate link: MomOf6 earns a commission if you purchase, at no additional cost to you. on Amazon. (As a reference-mine measures 22″ square).
To create the magnets, I used a Xyron crafting machine This is an affiliate link: MomOf6 earns a commission if you purchase, at no additional cost to you. (which can create laminated stickers, magnets, and so many other things just based on the cartridge you use). I used the magnetic cartridge This is an affiliate link: MomOf6 earns a commission if you purchase, at no additional cost to you. for this project. You can also purchase magnetic sheets This is an affiliate link: MomOf6 earns a commission if you purchase, at no additional cost to you. that you can run through your home printer to create the magnets. Just be sure to let the ink dry fully before cutting them out (and they won't be quite as durable as the ones made with the Xyron machine because the front of the magnet won't be laminated).
I used my paper trimmer This is an affiliate link: MomOf6 earns a commission if you purchase, at no additional cost to you. to get nice straight edges on my magnets. But of course, anything I did with the paper trimmer can be done using scissors.
Download the “What's for Dinner?” Board Labels
Once you have your tools, you can download a copy of the menu planning board labels here. Simply sign up below to join the MomOf6 community, and you'll be directed to a thank you page for access instruction.
*You can view our Privacy Policy here. To access the printable without subscribing to our newsletter, click here to send an email requesting access.
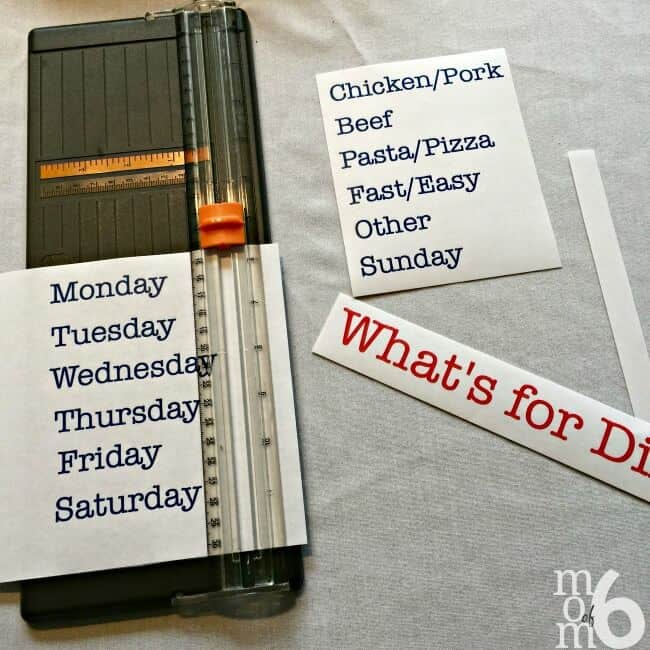
Print them out and cut them to size (no more than 5″ wide) to run through the Xyron machine.
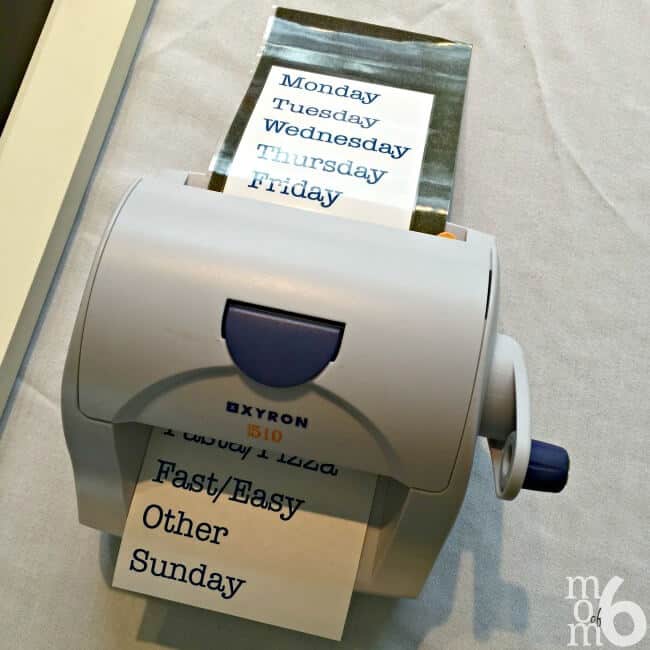
Simply feed the list through the machine which will laminate the front and add a magnet to the back.
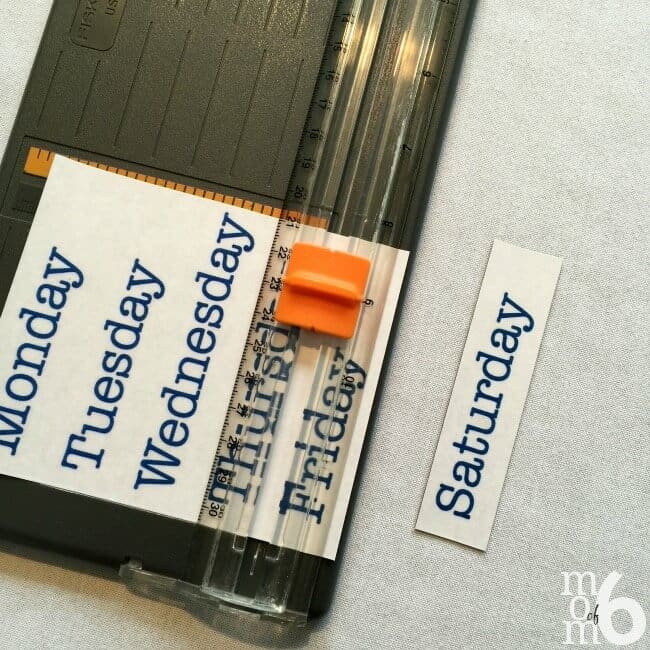
Use the cutter to trim each label to size. You now have your label magnets!

Create Your Own Menu Items
Spend some time with your family compiling a list of all of the dinner items that they like to eat. It helps to brainstorm by category- chicken, beef, pasta, etc. And be sure to think of a list of items that you can throw together quickly on a busy night- like soup & sandwiches or quesadillas. You can see my list of menu items here (a Word document, so you can modify it to fit what works for your family.)
Print out your finished list and then cut into a size to run through the Xryon to turn them into magnets.
Assemble the Menu Planning Board
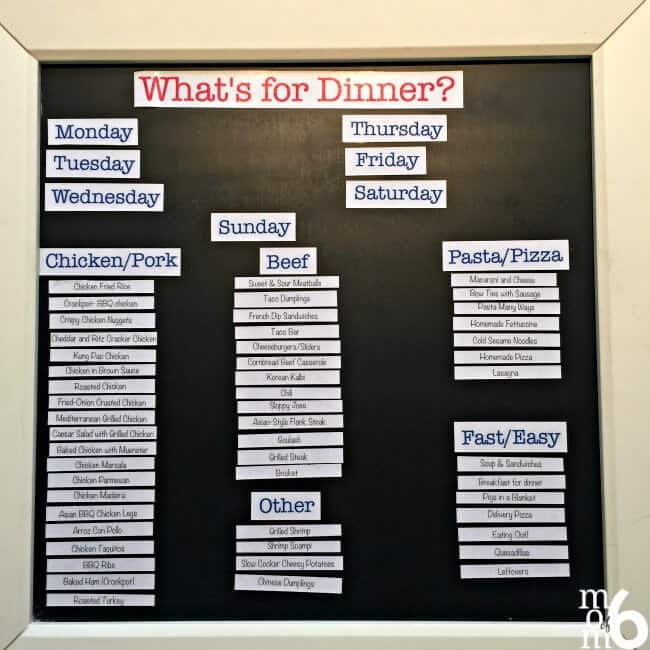
From here it is as simple as organizing your board so that the top section displays the days of the week and the bottom of the board lists all of your menu options.
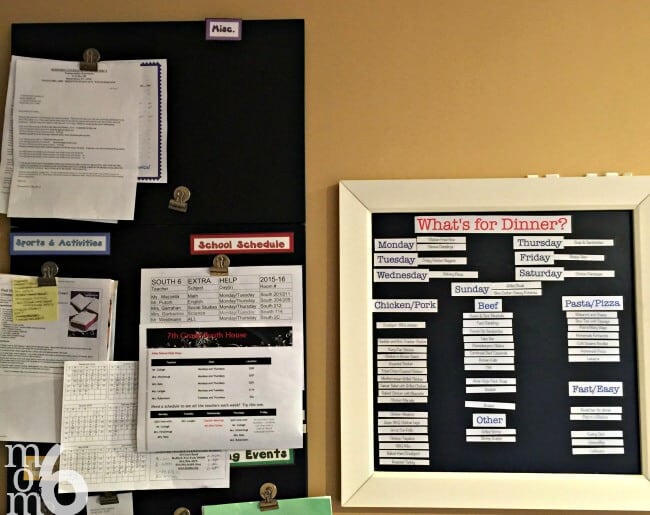
I love how it looks in my kitchen right next to my wall command center!
See How to Start Menu Planning in Action!
Check out my YouTube tutorial:
Would you like to get organized?
Here are some more posts to inspire you:
- 15 Fantastic Command Centers to Help Busy Moms Stay Organized
- The 10 Best Family Calendars
- 5 Ways Using a Family Calendar Can Improve Your Life!
- The 5 Best Planners for Busy Moms
Are you ready to get your life organized? Register for Busy Moms Boot Camp!
It's a free series of 10 weekly emails that can help you put some organization back in your life and help you to create room for all of those things that you'd like to be doing- whether that's making time to celebrate the little things with your family or carving out some space for yourself. Busy Moms Boot Camp can help you to move from chaos to organized! Simply sign up below to get started!
Tell me- are you menu planning right now? Do you think this system would work for you?

Christin says
This is such a practical and fun idea! Thanks for linking to the Talented Tuesday Link Party. I have you featured on my blog tomorrow at 9AM Central. Be sure to grab your featured button!
Julia says
What a difference this would make in our household! No more asking what’s for dinner and its all planned for the week. I would love to try my hand at this!
Aliyah Brody says
Sharon, I am so glad I found your post through the Let’s Get Real weekly blog hop. I absolutely LOVE your magnetic menu planning board. It’s so much more user-friendly and efficient than writing and erasing recipe titles on a chalkboard. Your idea makes it super easy to quickly shift between one recipe and another as plans change during the week (and which family’s schedule DOESN’T have hiccups?). Thanks so much for sharing this terrific idea!
Sharon says
You are so welcome! There’s lots of ways to menu plan, but I’ve found this one to really work for us!
Stephanie says
This is great! I love the idea of organizing this in such a cute way for the whole family to see and the step-by-step is super helpful.
Sharon says
My kids even check it in the morning before breakfast!
Sandra Garth says
I love this idea, now if I can only stick to it. Maybe watching fewer cooking show will help!
Sharon says
Ha! I’m hooked on The Food Network too!
Jenna @ A Savory Feast says
This is such a great idea for meal planning! I’m a visual person so it would be so nice to have all of my go-to meals listed like this so that I can plan in minutes. Thanks for sharing your idea with the Wednesday Showcase!
Janet Vinyard says
Hi Sharon, What a great & clever idea! It must make menu planning so much easier! Thanks for sharing how you accomplished this! Well Done! Blessings, Janet
Millie says
such a super cool idea! love love love and will have to make one or two (Kristina might want one). thanks for the inspiration!
michelle berry says
Love it! I am visual so it will work great for me and my boys!